Author Topic: HMS M19  (Read 7293 times)

0 Members and 1 Guest are viewing this topic.

Offline Ballastanksian

  • Petty Officer
  • *
  • Posts: 10
  • Gender: Male
HMS M19
« on: 11 February 2017, 15:24:56 »
Having seen, fallen in love with and purchased the M15 kit at the Wickstead show last year, I decided to make a sister ship. Ship's Doctor is building M18 which has the 9.2inch MkX gun as per the kit, but having seen, and been intrigued with the 9.2inch gun MkVI, I decided upon building M19.

There were not enough mountings of the sort used by the Cressy class Armoured Cruisers and so older guns from the Endymion class cruisers were used. These ships were being modified for coastal bombardment and were to be fitted with an all 6inch gun armament, thus their single 9.2 inch equipments were redundant.

I began with the superstructure and weapons because I like that sort of thing and getting the complex stuff out of the way first will allow me to push the hull and finishing along at the end with a better idea of what time I need to complete. All through this build I have referred to the Ian Buxton book on Big Gun Monitors and also I.V. Hogg's book Naval Gun, which by chance had a side plan of the very gun and mount that I needed!

Settle down with a cup of tea and a biscuit or two. Here we go...

First off, the superstructure.


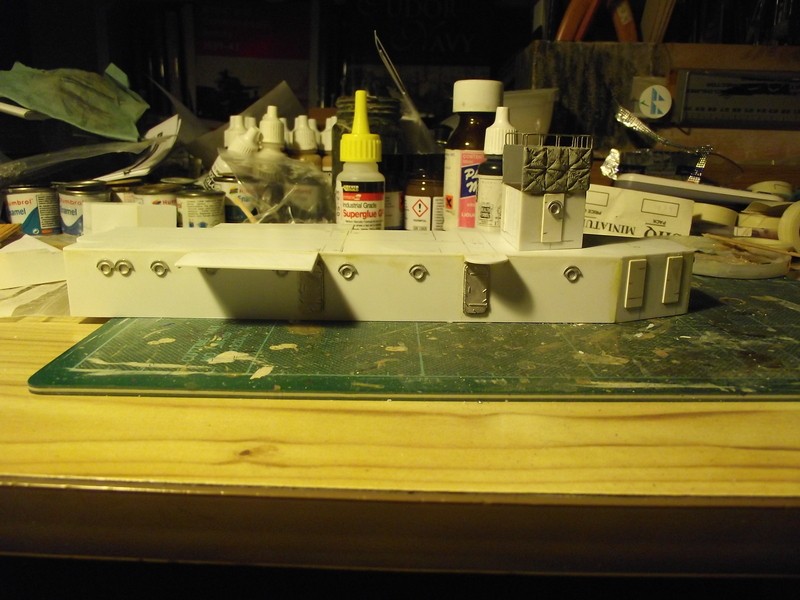
This was built as per the kit with just the semicircular searchlight platform ends moved forward. The layout of the bridge and roof fittings are somewhat different and will be covered forthwith.


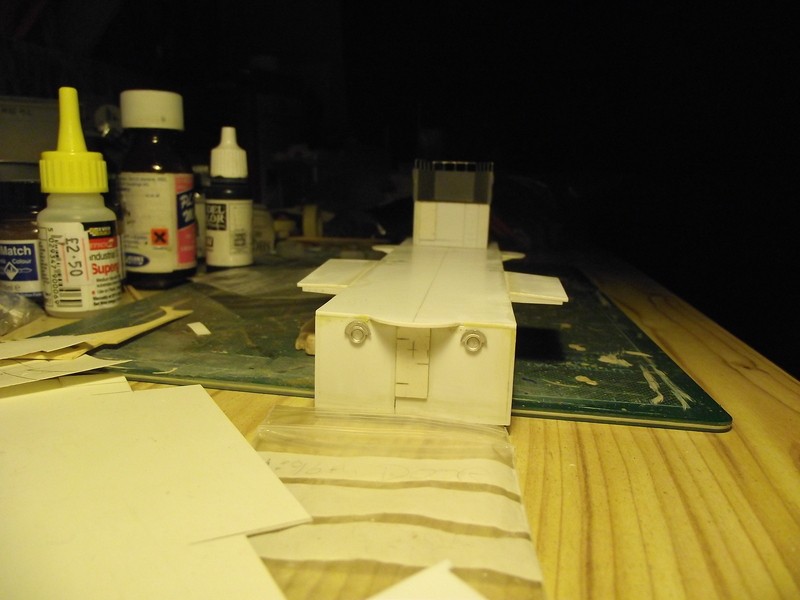
The Bridge on M19 is smaller than that of M15 and threw up some interesting questions such as where the chart table went on sucha diddy floor plan?


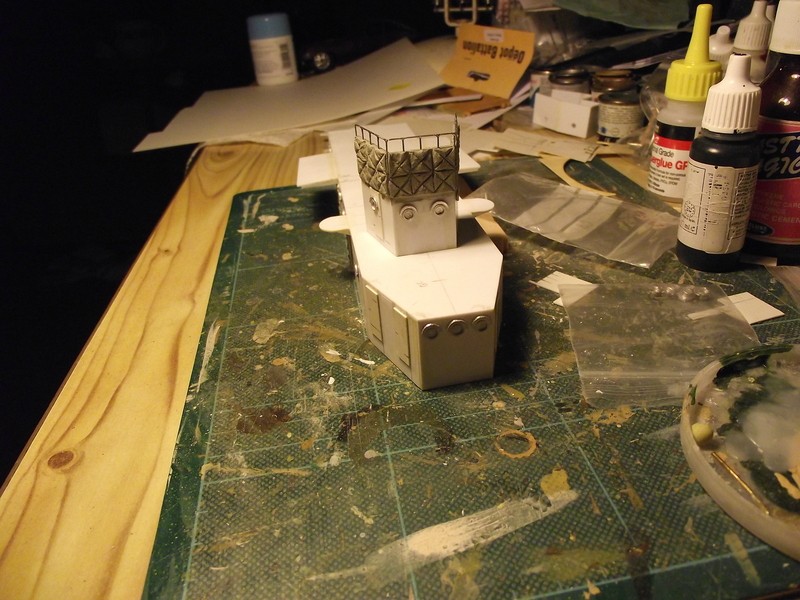
The bridge is further back than on M15 with the space forward being used as an open air wardroom with canopy!
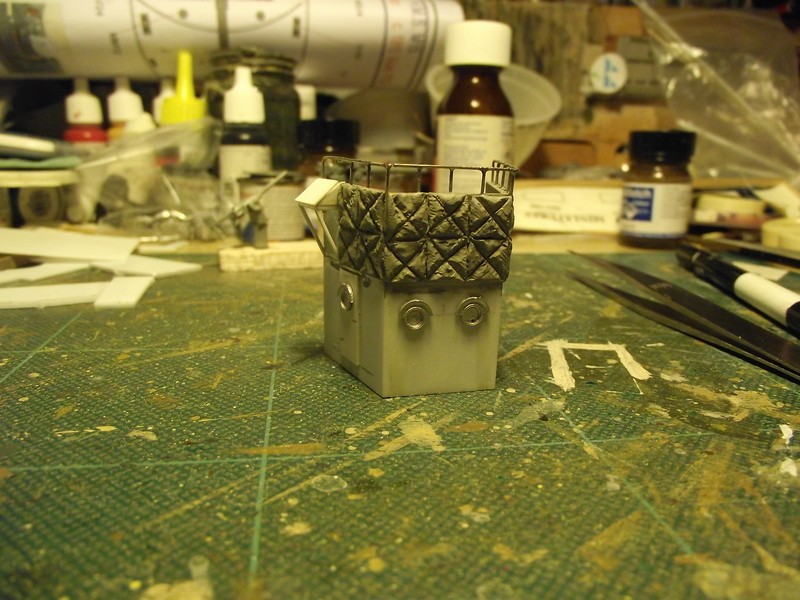
I sculpted the blast mats from Milliput


The chart table was fitted to the right hand side of the railings and supported on braces.


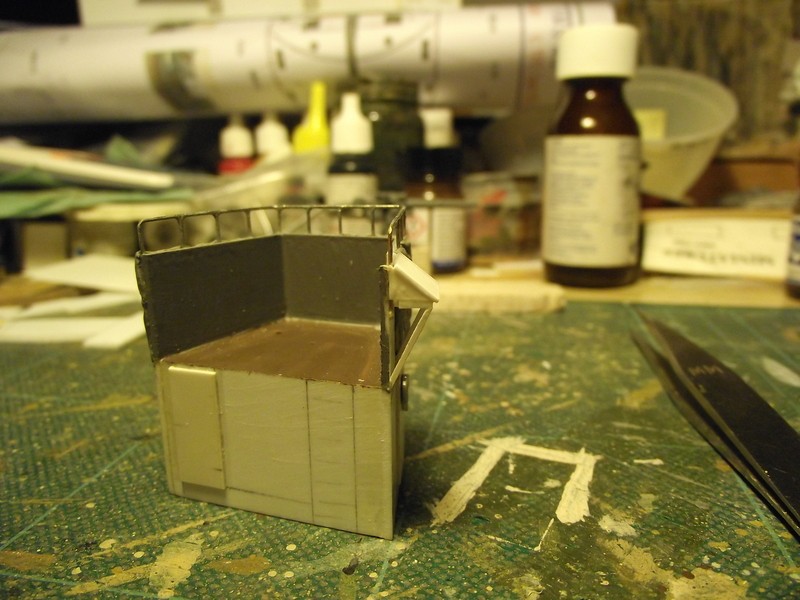
And has a sloping roof to keep the worst of the elements off.


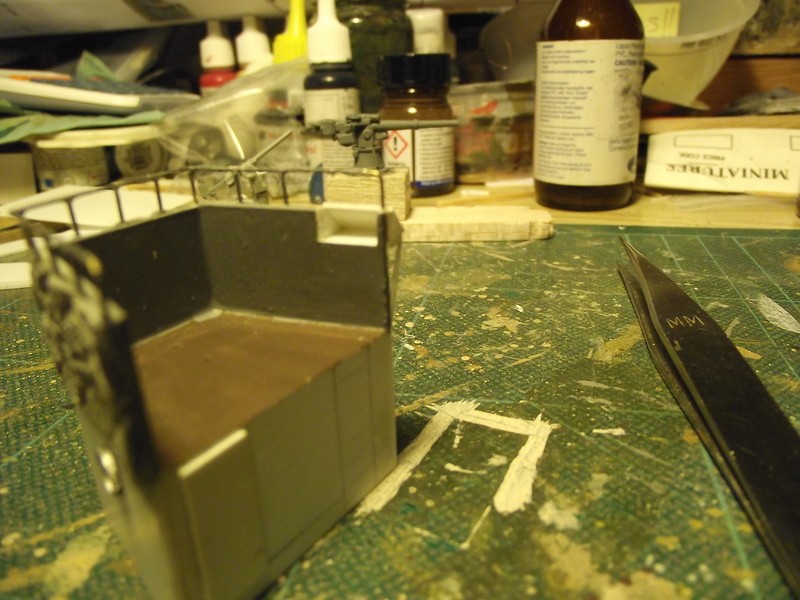
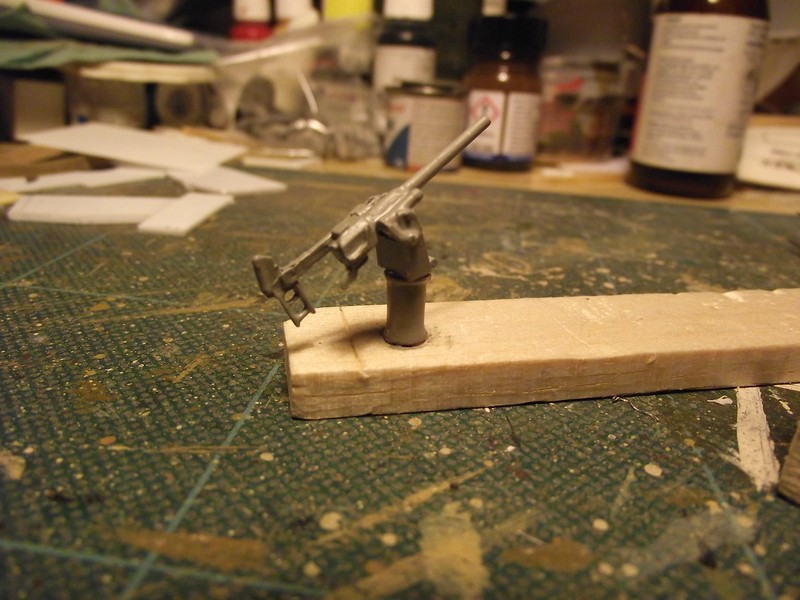
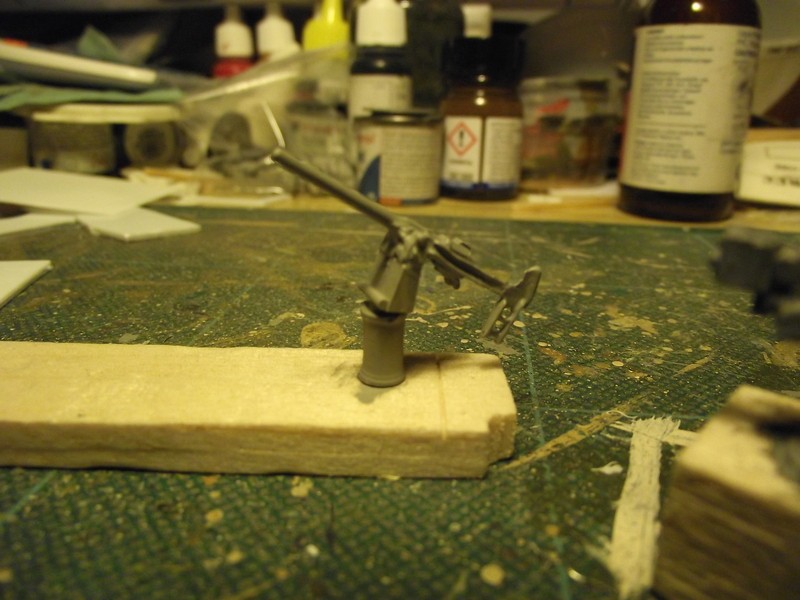
This is the kit 6pounder gun modified to become the early High angle weapon for anti aircraft defence. A raised section was made from pine strip and clad in plastic onto which the kit gun was fitted. The assembly was then
put onto the kit pintle and painted.


« Last Edit: 11 February 2017, 16:04:23 by Ballastanksian »

Offline Ballastanksian

  • Petty Officer
  • *
  • Posts: 10
  • Gender: Male
Re: HMS M19
« Reply #1 on: 11 February 2017, 15:38:27 »
Next installment:

The mounting was modified for fitting onto the M15 class hull. It was rebuilt to increase the range of the gun by raising the trunnions and the armoured gunhouse was replaced with one of thinner plate proof against splinters etc.

The gunhouse floor was cut from 1.5mm plastic with a lamination under the main mounting to define the raised working platform to the rear, and the cheeks and roof support were also cut at this stage.


Then these parts were assembled. The front of the cheeks and the roof support are not true to scale, but are so designed to suoport the thinner plastic sides and top.


Spacers were added to keep the cheeks vertical.


The gun barrel was turned from Chemiwood and plastic trunnions added. The breech was made from plastic.

They were moulded and cast in resin and pewter respectivly.


The trunnion/buffer units were made from rod and plastic.


The left hand buffer was fitted to the slide and details were added including the elevation wheel, Traverse wheel and range apparatus to its rear. Hand wheels were cadged from SHQ Miniatures.


More soon!

Offline Ballastanksian

  • Petty Officer
  • *
  • Posts: 10
  • Gender: Male
Re: HMS M19
« Reply #2 on: 11 February 2017, 15:51:26 »
Now then,

The turret internals were at a stage that would allow me to build the gunhouse.

I drew the floor onto paper, and drew lines every 2mm extending across the drawing and up. Then I drew a line at the angle of the roof so I could work out what shape the oval sloping section would be.
You can see the lines in the second image.

The sloped and flat roof sections were added to the frame already fitted followed by the sides and front as one piece of plastic sheet.


Once glued and trimmed, the apeture for the gun was cut out.


The gun was trial fitted.


The breech was painted in Vellejo Oily steel and brass parts in a mix of Vellejo Gold and Ochre.


Offline Ballastanksian

  • Petty Officer
  • *
  • Posts: 10
  • Gender: Male
Re: HMS M19
« Reply #3 on: 11 February 2017, 15:58:27 »
Last batch for now.

The working platform has a breech pit and originally I was just going to repreent it by painting a square of the floor darker than the rest, but I thought this would look rubbish. I knuckled down and cut a section of the platform out.


Then I made the sides and floor from .5mm plastic.


On the front, there are two other openings besides that for the gun, so I cut these out.
The large one is for the gun sight and the lower one is an opening for part of the elevation gear I think. This has been represented with bits of plastic sheet and rod.


More soon!

Offline ship's doctor

  • Lt-Commander
  • *
  • Posts: 159
Re: HMS M19
« Reply #4 on: 12 February 2017, 17:55:23 »
Great detail! The new barrel is excellent & the scratch-built turret. Unfortunately M18 has been on the shelf all winter (work...  >:() but will have to get her down again!

James   

Offline Ballastanksian

  • Petty Officer
  • *
  • Posts: 10
  • Gender: Male
Re: HMS M19
« Reply #5 on: 12 February 2017, 18:05:01 »
No worries ames. I appreciate how hard you and your compatriaots are working especially at this time of year, and a certain politician hasn't helped this last year either  >:D

I notice that I accidently called some of my posts M18 by mistake. I have PM'd you and will ask a moderator to change the name so as to prevent confusion.

You had got a good way into your build as I recall, so I expect you will get right back into it soon.

Regards progress, I have fitted the gun, added some conduits on the gunhouse and have added the sides to the working platform.


More soon....

Offline Ballastanksian

  • Petty Officer
  • *
  • Posts: 10
  • Gender: Male
Re: HMS M19
« Reply #6 on: 27 March 2017, 22:29:44 »
Howdy,

More progress has been made on this lovely model subject recently.
I turned a turret mount from Chemiwood and fitted that in place and began to make the ammunition davit using one of the four small davits provided in the kit.


I added a rear to the bridge adding blast mats from Milliput and supports for an awning. They all seemed to have such diverse detailing that you are never 100% sure what she looked like when.


Now I took the plunge and bean to prepare the hull. I used a mixture of kit parts and scratch built items.
The kit prop shafts, tubes and rudder arrangement were used un modified and installed largely as per the instructions.

The motor-stuffing tube mount was made from 13mm (half inch) ply epoxied together. It is designed to fit the 6 volt motors available for the model. These were knidly sent to me by Ron after the Wicksteed show.

The Servo mount was made from 6mm ply (quarter inch) again epoxied together. All wooden parts are
 water proofed with dope and either epoxied or P38 puttied in place.


The stuffing tubes were epoxied in place before the holes were taped over and P38 was applied inside. The outside was then faired in with Milliput. A frames will be added later.


The tiller and its boss were made from brass and soldered together. The tiller is held in place with an M2 grub screw tightened with a .9mm allen key.

More soon!


Offline ship's doctor

  • Lt-Commander
  • *
  • Posts: 159
Re: HMS M19
« Reply #7 on: 29 March 2017, 07:25:27 »
All very tidy! The motor mount looks much more substantial - I think I will do similar with mine

James